Tubing for Two
Working in pairs builds camaraderie, boosts group dynamics and bolsters attendance.
Here’s a scenario most group fitness instructors are familiar with: You’re teaching a strength class, and you run out of dumbbells. Before a fight breaks out for the last 8-pound set, you remember the box of resistance tubing in the corner and how you’ve been wanting to teach a partner-based class—and the moment is saved because you’ve prepared for this!
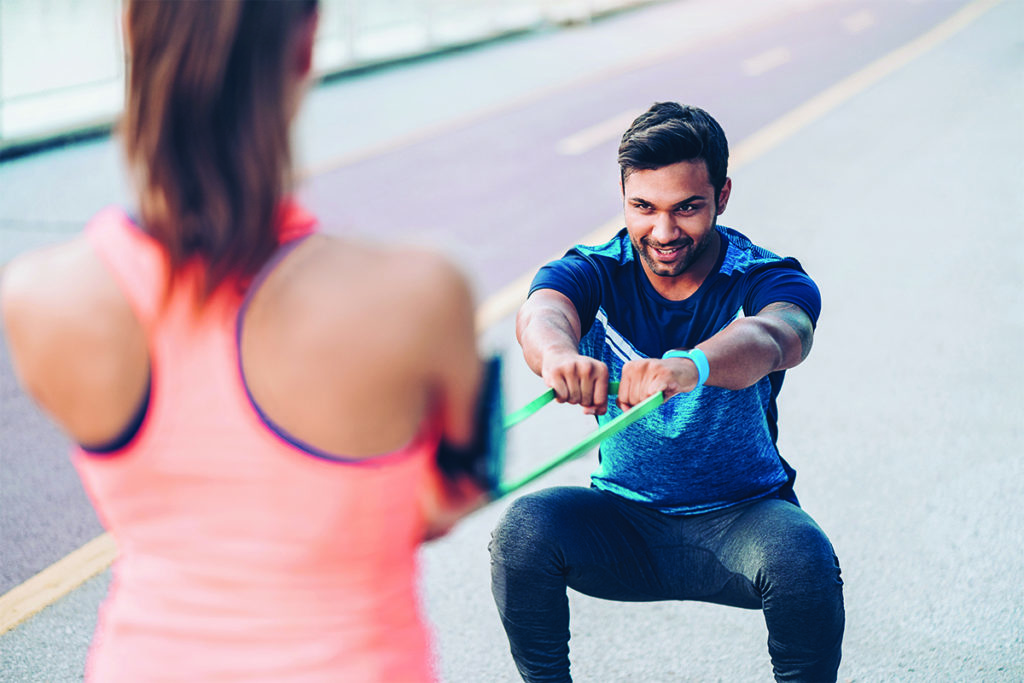
Resistance tubing has been popular for years, and it’s still one of the most versatile and inexpensive fitness tools available. There are countless styles of tubing, which vary in size, resistance, shape, material and covering. They even come braided! Regardless of which ones you work with, they are portable, they’re easy to pull out and put away, and they take up very little space to store.
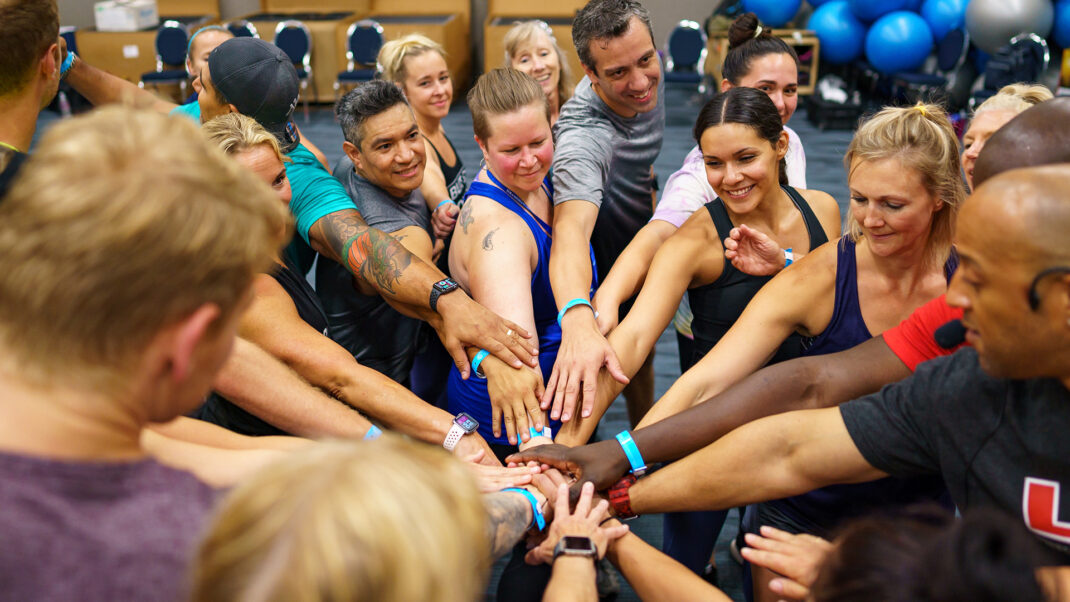
Using resistance tubing to teach a partner-based strength class is a great way to keep your classes fresh and fun, and you can create teams of two by following a few simple guidelines. What makes this format so valuable, however, is the human connection with its social aspect. Training together fosters healthy competition, which encourages people to work harder.
Why Partners?
Pairing participants for a shared goal contributes to everyone’s success. For example, partnering an experienced student with a newcomer helps the newbie feel more accepted and allows the pro student to be a mentor and to feel valued by the instructor. Working in pairs appeals to friends, partners, co-workers, parents and children—anyone can enjoy a wonderful workout and bonding experience in this type of class. Partnering can be as informal as cuing “partner up,” or you may choose to assign people based on size or strength. A lot of people are shy about touching other people (or being touched) during a workout, so the tubing lets people train together without the awkwardness of sweaty contact.
Partner Training Benefits
There are many good reasons to pair up participants to teach a tubing class:
- Each pair co-creates a different experience.
- It requires less equipment.
- You increase the fun factor and encourage people to work harder.
- Everyone stays highly motivated.
- It provides social engagement.
How To: Strength Basics for Two
As you plan your “Tubing for Two” class, there are a few things to keep in mind:
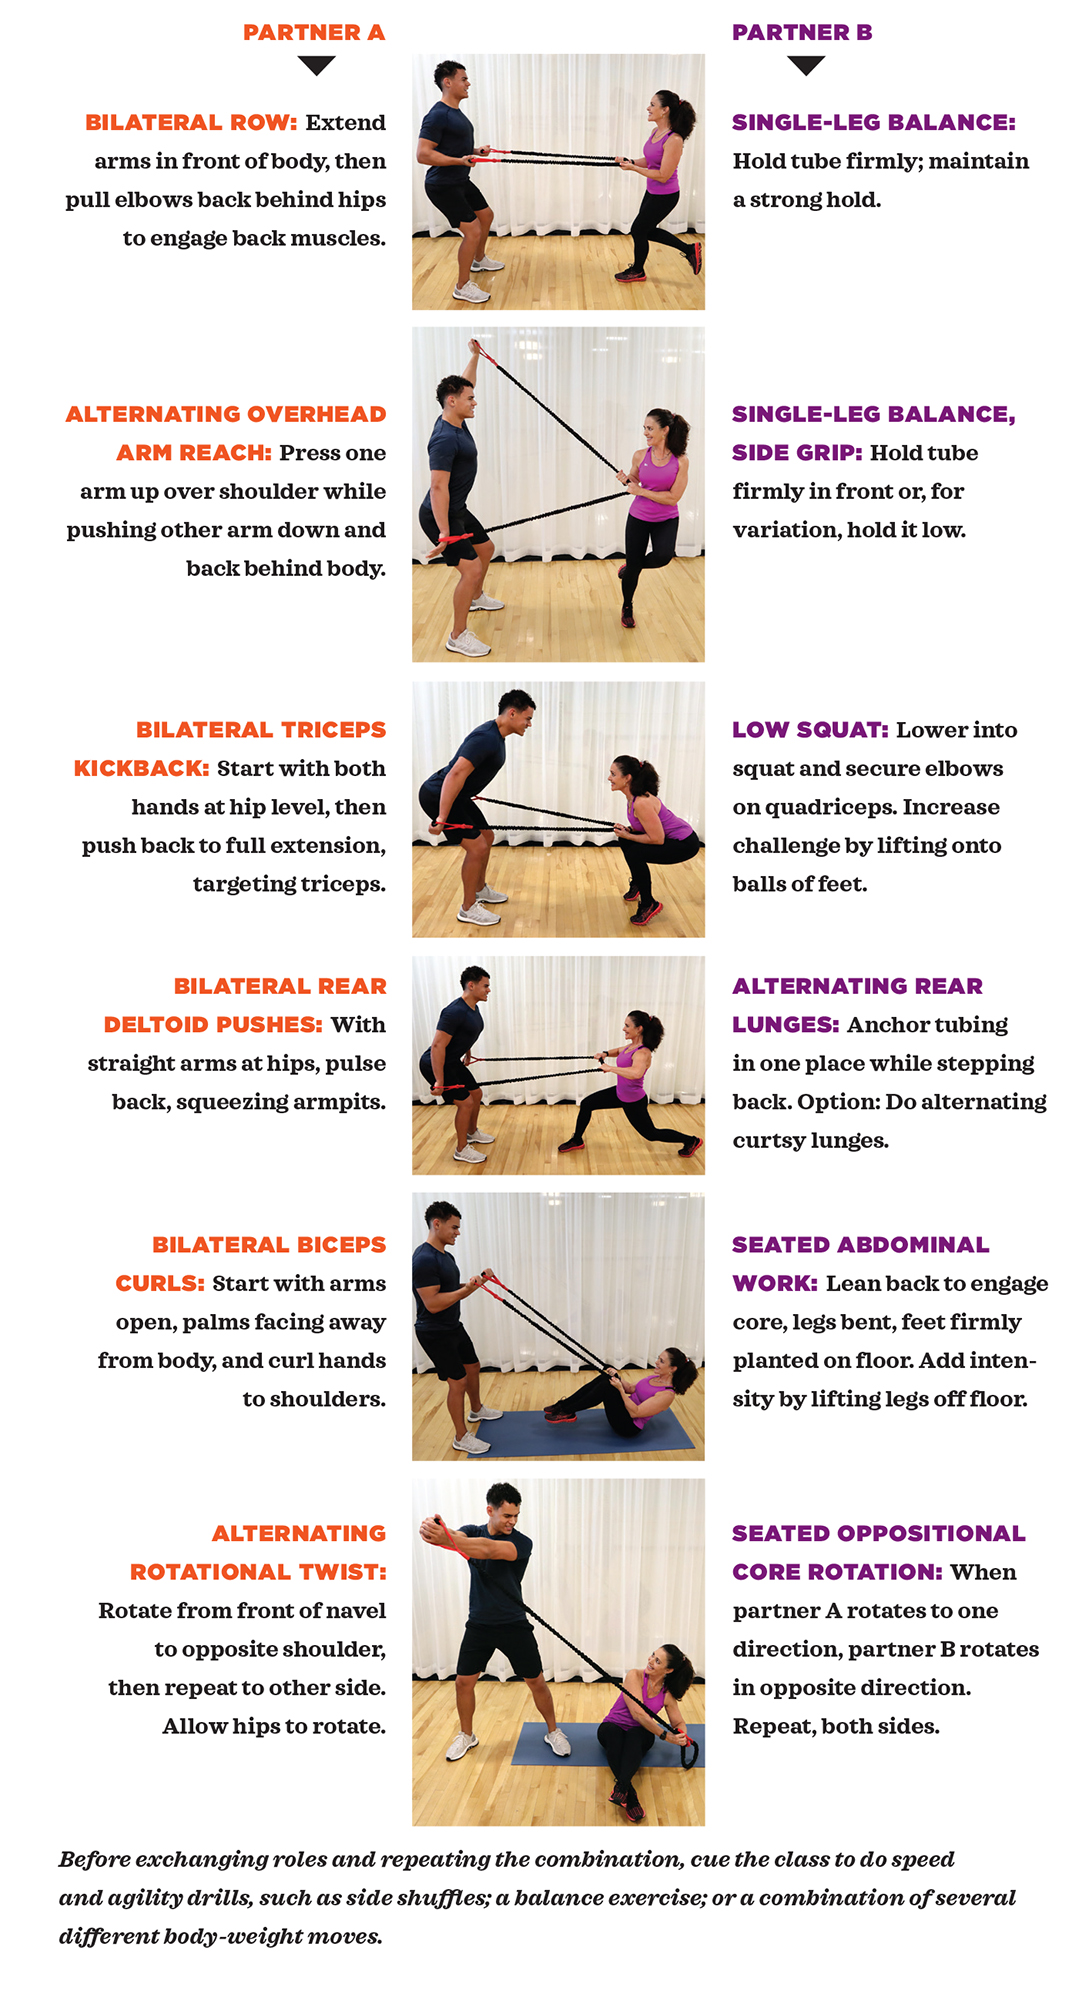
Identify the target muscle groups. Know the exercises and combinations you want to teach, consider how they apply to the two people in the duo, and then choose the best positioning for each partner. You can organize the moves so that one person is the anchor or so that each person holds a handle and works one side of the tubing unilaterally. Setups can be synergistic, and both partners don’t need to perform the same exercise; each person can do something different (e.g., partner A squats while partner B does triceps kickbacks).
Ensure that the combinations work. Do your selections apply to different planes of motion? Do they use a variety of muscle groups and include both functional and traditional exercises? Most importantly, do the combos use the appropriate line of pull for each move?
Teach presence. If one partner is the anchor while the other is the primary mover, then both people must understand their roles, be in the moment and stay on the same page.
Set up for success. To help participants grasp the concepts quickly, demonstrate each exercise with an attendee or team-teach. It’s generally easier to teach a move if all the pairs line up facing each other for the first set so people can check their movement against the person next to them.
Choose the right format. Base exercise selection on time, number of sets or reps, or group fatigue levels.
Emphasize the need to be mindful. Review safety tips: Check the tubing for nicks and tears; don’t let go of the tubing; let your partner know if you’re fatiguing; and don’t start until both people are ready to go!
More on Class Formatting
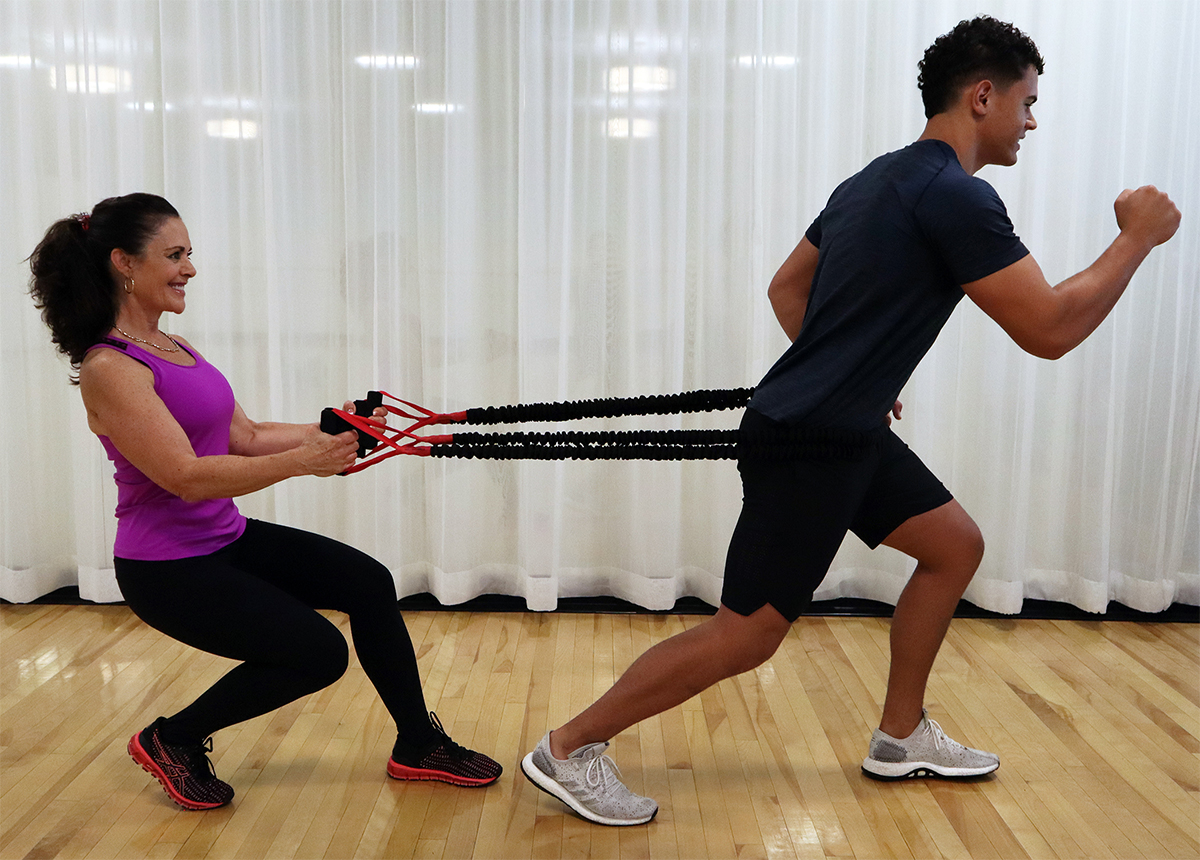
For a fun warmup exercise, assign partner A the job of being a “horse” and partner B the role of “driver.”
Think through each segment of class and anticipate needs.
The Warmup
Include a variety of dynamic exercises that will prepare the group for combinations. The moves should include the following:
- pushing
- pulling
- rotational work
- squats
- sumo squats
- lunges
For a fun warmup exercise, assign partner A the job of being a “horse” and partner B the role of “driver.” Use tubing with handles. Partner A secures the tubing at hip level, and partner B stands behind, holds on and adds resistance while the “horse” walks, lunges or jogs lightly. Another warmup idea: Have one person work lightly with the tubing while the other performs body-weight exercises.
Creative Combinations
It’s fun to think through combinations with a goal of limiting anchor changes. Make the sets interesting by integrating cardio drills as well as balance, stability, coordination, body-weight and power moves (see “Sample Exercise Combinations,” below, for more details). Layer the difficulty by starting with a basic exercise and then adding complexity or resistance. There are lots of workout design options, especially if you keep choosing different positioning. For example, partners can work out facing each other, side by side, front to back, back to back, standing and seated, prone or supine, side-lying, and more.
It takes planning, but once you teach a combination and everyone is comfortable with it, you don’t have to reteach it. You just need to cue changes, give form suggestions and make sure everyone is doing the same number of repetitions. One easy way to make transitions flow and have less downtime is to have both partners work together on a set, then work separately for a body-weight, balance or agility interval drill before switching roles to repeat the combination.
Cool It Down
Always top off class with a recovery or stretch. Don’t forget the power of bringing everyone back together to give kudos, get feedback, recognize newcomers and thank the group for their participation. Use the tubing to enhance stretches—it’s a great stretching strap for targeting range of motion in the hips and shoulders.
Important Considerations
It’s not easy to keep everyone on track and working together, but the benefits outweigh the challenges. The more you teach this format, the easier it gets. Here are some additional pointers:
- Make sure your cues are positive, concise and encouraging.
- Avoid getting frustrated when people get caught up in conversation.
- Clearly explain anchoring, positioning, setup and line of pull.
- Be prepared to make constant corrections and identify poor form; as people get tired, their form will deteriorate.
- Don’t overload one area of the body. For example, do one upper-body move to three lower-body moves, or follow two upper-body exercises with two for the
lower body. This is more effective than focusing solely on one or the other, and it offers more time for recovery. - If possible, encourage people of the same strength, height, etc., to partner up.
- Think about music. Decide if you want everyone to work on the beat or if you’ll simply use the playlist as background motivation. You want all your participants to have an effective, safe and fun workout.
Give It a Go!
Tubing is the perfect tool for a partner program. Once you’ve practiced the shared-equipment concept, you have many options at your disposal. You might even create a dedicated new class on the schedule! You can teach partner tubing anywhere in the gym, including in water fitness classes and small-group training sessions. Getting the details lined up will take some extra work, but your students’ smiles, as well as your own, will make it well worth the effort.
Sample Exercise Combinations
Use the following tubing combinations as a template to create your own. Set up partners facing one another. In the first five exercises, partner A holds both handles and does the moves described in the lefthand column. Partner B anchors the tubing (holding it in the center, halfway between the handles) while doing the moves described in the righthand column. In the last exercise, the hold changes, with each partner gripping one end of the tubing.

Aileen Sheron
One of three finalists for IDEA’s 2020 and 2021 Fitness Instructor of the Year award, Aileen is an entrepreneur and innovator across most facets of the fitness industry. She is an international presenter, inventor, program developer, content creator, writer, business owner, and social media personality. A continuing education provider for decades, she has trained thousands of instructors. She has been a mentor and life coach to many of today’s industry leaders and provides proprietary choreography to align with their personal brands. Aileen is also president of Good Natured Products, Inc., makers of her invention, the Omniball, and other fitness products. You can find her at www.aileensheron.com. Certifications: ACE and AFAA